
If you are new here - welcome to my blog! My name is Kimberlee and I am an artist, hiker, backpacker and homemaker. I love to be out in nature and I document my travels through my paintings. Today I'll give you some insight into the painting I'm sharing with process photos and links to my favorite materials.
Backstory
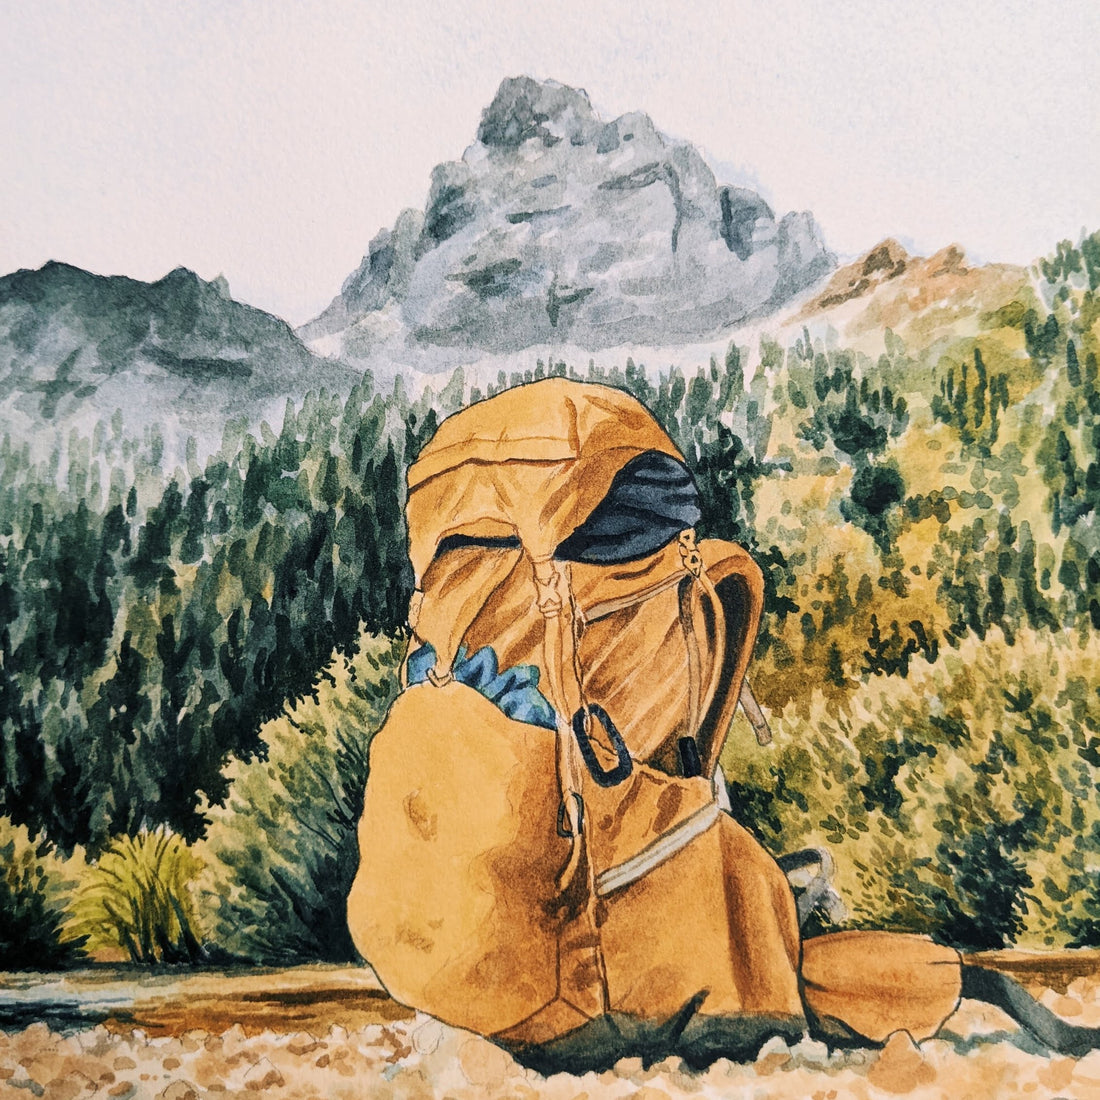
While we were backpacking in the Teton mountain range I set my pack on the ground as we were leaving and got a glamour shot. This pack gets me through a lot and I am excited to take it on many more adventures. This is what my pack looks like as I'm carrying it. Stuffed full and very heavy, as you can imagine. It holds everything I needed for the four day journey through the backcountry that we had just gone on.
A note on the process of documenting the art process
Typically when I document my paintings I take pictures at random throughout the process. This gives a casual look into the process while not putting too much pressure on me to take perfect pictures at every step. Sometimes I find it difficult enough to focus on a painting without the added distraction of trying to document my progress. But I know how valuable this is to people and I love to share the process. This leads to me sometimes documenting the process fully in video, sometimes just partially in photos and sometimes not at all - for such times when I have to get a painting done fast.
For this painting (Backpack in the Tetons( I took a photo after each painting session and sometimes in the middle of one as well. This shows a cool, almost step-by-step photo journey through my process. I hope you enjoy it!
Materials used for this painting
These are affiliate links to Amazon, so I do get a small commission from them. Unless I say it in a note beside the link I have personally used these products. Thank you for your support if you do get something from my links.
- Watercolor Pan - this is the exact one I have except I have half pans
- Arches watercolor paper - this is the paper I use for all my paintings - either 140 or 300 lb cold press.
- Princeton Neptune round Size 4
- Princeton Neptune quill size 4 - my favorite series of brushes - they are so good for larger areas and details because they come to a sharp point
- Small detail brushes - this is not the exact set that I have but they are very similar and this type of brush doesn't have to be really expensive. You just want a nice smooth, stiff bristle to do fine lines and other details. I like to keep several on hand because they don't stay perfectly straight forever.
Now let's get to the fun part - pictures!
This is just the pencil. I use these as a guide and I erase anything that I think will show up too much under the paint.

I almost always do sky first because it is light and simple. It's a good warm up!

Here's a light base for a couple areas with some brighter color added wet on wet.


I'm keeping things more simple and fuzzy with the background. I intend to draw most of the attention to the backpack.

Now almost everything has a bit of color.

From now on I'm adding details and building up layers.

I decided to give the backpack some more a sharper look by outlining it. This will not look as defined later but it will have a good effect.

I'm building up that background with a lot of soft layers of trees and grass. I'm not worried about it being the exact same as the landscape in the picture I'm working from. I just want to get the general landscape and the feel across to the viewer.


So close...

Ta da - here it is! The finished painting is now listed on my website for those interested in collecting original art here is the link: Backpack in the Tetons Original Painting. If you are interested in fine art prints you'll have to check back in February or get on my email list to be sure to see them when they come out.

Thank you so much for reading and for following my watercolor journey. To get a deeper look into my painting process go to my YouTube channel and subscribe to see all my videos.