
You may have seen images of wood slice ornaments going around recently since it's getting close to the holiday season. Think those are impossible for you to create? Think again! With my help and a few tools and materials you too can create beautiful, personalized ornaments that are special to you and your family. Make something that your family will treasure form many Christmases to come!
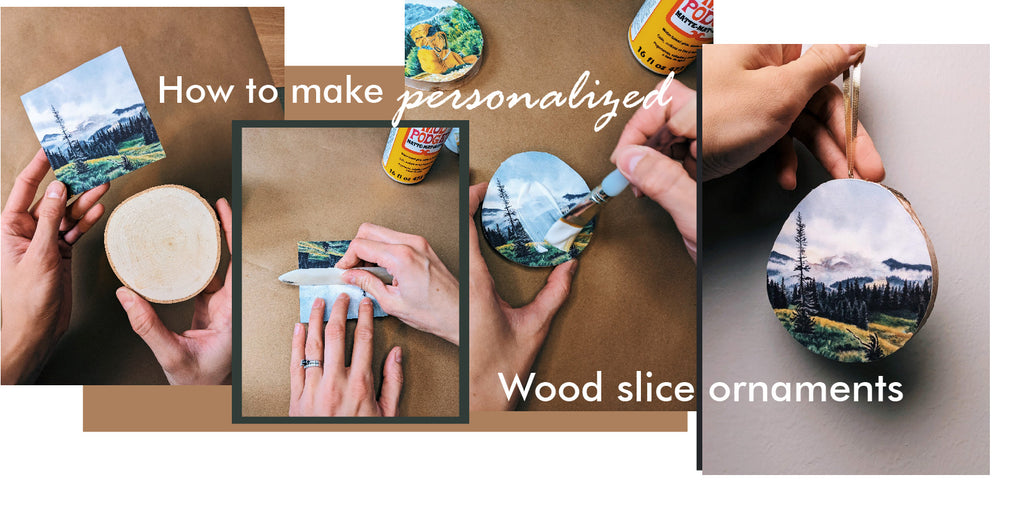
These ornaments make great gifts for family because you can make them very special for someone you love by using treasured family photos. So go find a photo that captures a really beautiful memory and let's get to work!
I'll teach you how to apply a printed image onto a wood slice ornament with precision, how to protect it from damage and how to attach a ribbon without making a hole in your image.
Tools and Materials
- One birch base wood slice coaster from Michaels or something like this from Amazon. The coaster is just what I used.
- Mod Podge - I use the matte finish
- Bone folder/burnisher
- Screw hooks
- A smooth brush - 1-2 inch flat wash is best
- X-Acto knife or utility blade
- Cutting mat (optional)
- One spool of thin ribbon
- A printed image - see notes
Notes
- A laser print works best to avoid any bleeding. I use inkjet myself and I haven't had any issues but I've heard that it can happen. Feel free to try inkjet, just beware of that possibility, or hedge on the safe side and go with laser, you can get the image printed at your local office/printing center if you don't have a laser printer.
- Do not use photo paper, that will not work for this application. It must be a cardstock type paper.
- Start by selecting an image for your ornament. I used my own art prints of my watercolor paintings. You can use a family portrait, an image of your pet, a landscape photo - whatever strikes your fancy! Crop your image to be square and then we'll cut it to fit the ornament later.
- Measure the wood slice diameter. Print your image to be 1/4 inch bigger than your wood slice. The extra is going to be your bleed - the excess print that we will cut off.
- Cut your square image out of the sheet of paper it was printed on.
- Apply glue to the ornament surface with your brush then place your image onto the wood slice carefully, making sure that it is centered before pressing it down.
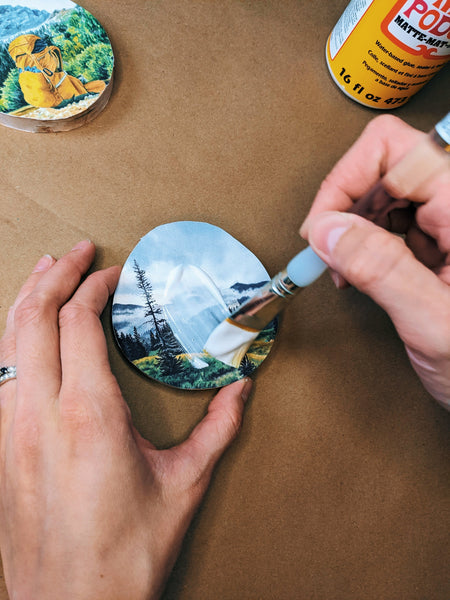
- Use a bone folder to remove any trapped air bubbles or excess glue. Gently press down and out from the center all around the ornament.
- Once it's dried for a few minutes, flip the ornament over and use an X-acto blade or a utility blade to cut the paper flush with the ornament. You can do this on top of a piece of a few pieces of cardstock or cardboard if you don't have a cutting mat.
- Apply 2-3 coats of Mod Podge on top of the paper. This is your topcoat, it will give the paper a hard surface. Allow 30 minutes of drying time in between coats.
- Attach a screw hook to the top of the ornament by predrilling a small hole and then screwing it in by hand.
- Then all you have to do is tie on a ribbon and it's ready to hang!
Congratulations! Now you have your very own personalized ornament to display proudly on your Christmas tree. You now have the skills to make beautiful, meaningful ornaments that you can keep for yourself or use as gifts!
Here are some photos to help you along
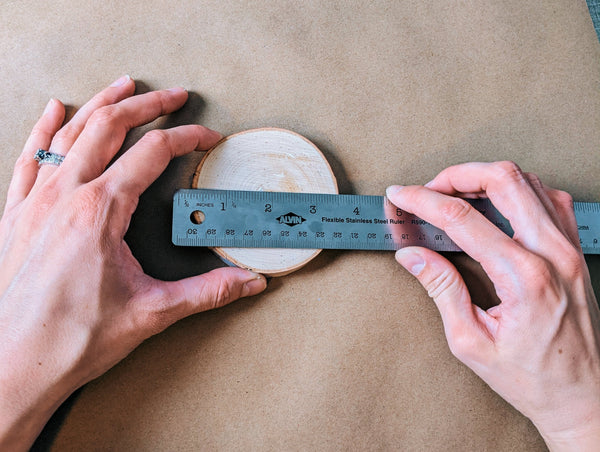
Measuring for the image size

Cutting out out the image

The cropped image and the wood slice
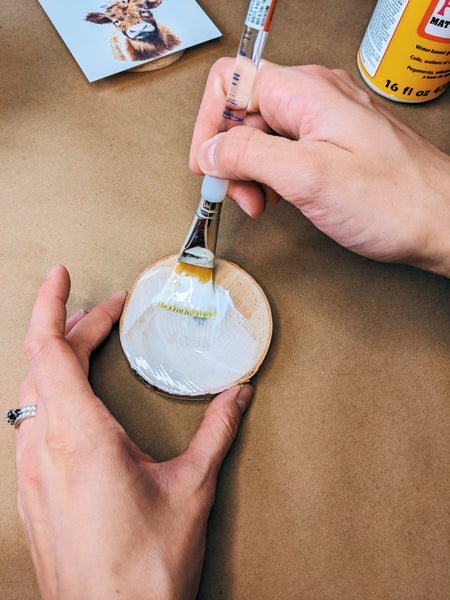
Applying glue to the wood surface

Smoothing out the image after gluing

Cutting the image to fit the ornament
Applying the topcoat of ModPodge

Before drying...

And after! The way it dries is so satisfying.
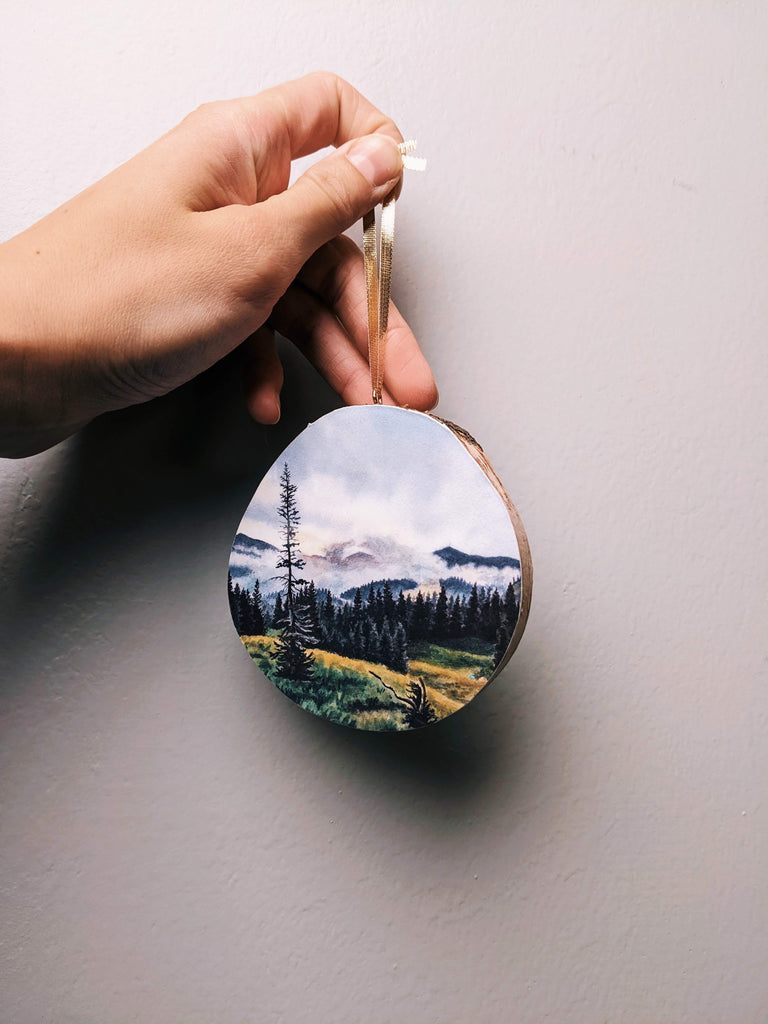
And there's my finished ornament!
I hope you enjoyed this tutorial and I hope you found it easy to follow.
I created an entire collection of these printed ornaments for my online shop this year. They feature my watercolor paintings of nature scenes and animals. Make sure you check those out here before you leave!
This blog post features my affiliate links to products on Amazon.